|
|||||||
Click the gallery images for larger versions. Click the camera-arrow icon to see where the photo was taken on the layout. |
 |

Image 2-1. Empty CP Rail train on siding near Rogers Pass.
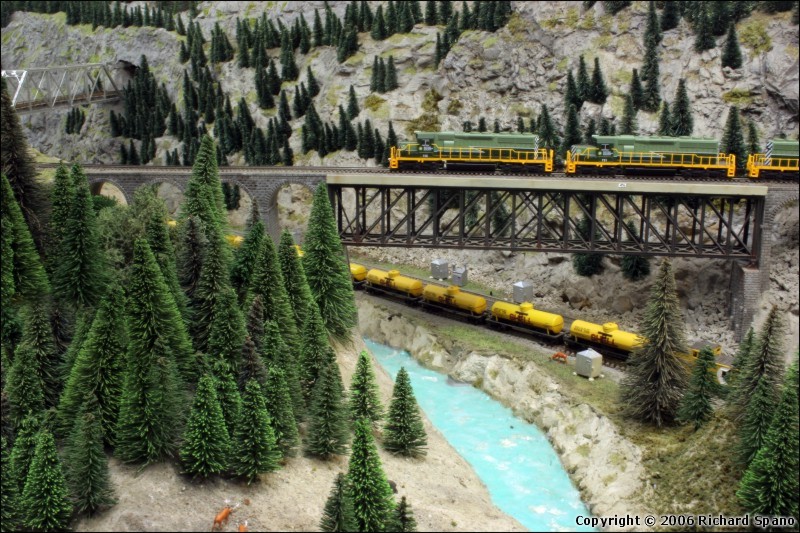
Image 2-2. BC Rail mixed freight crossing Kicking Horse River on Lytton Bridge. The consist is headed west towards Cisco Bridge.
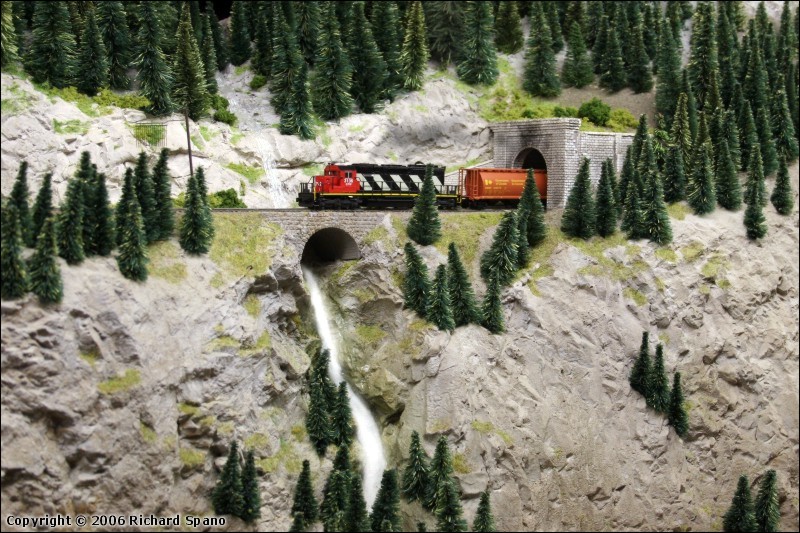
Image 2-3. A loaded CN grain approaching the S&U summit crosses one of the many bridges and waterfalls as it heads west to Anachron Yard export grain elevator.

Image 2-4. CN grain train crossing Fraser River on Triple Arch Bridge heading west to Anachron Yard.
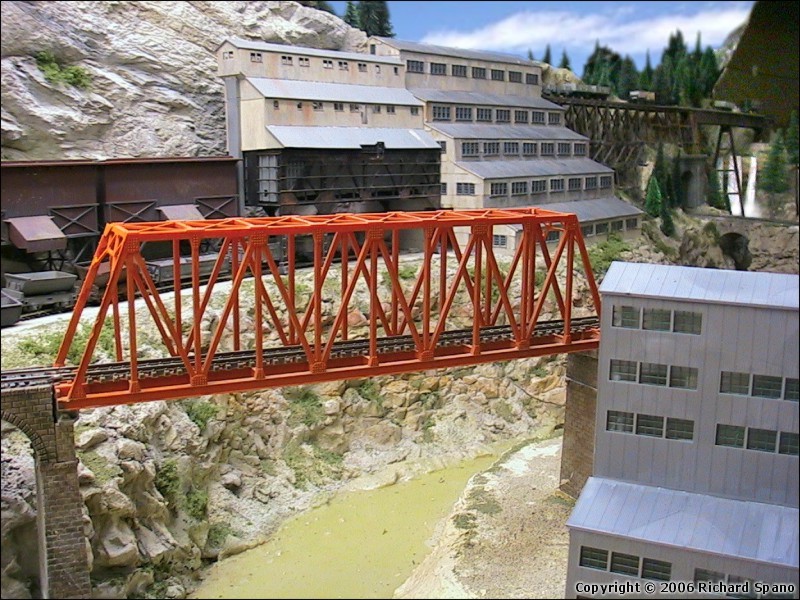
Image 2-5. Britannia Copper Mine at Ashcroft in the high desert along the banks of the Thompson River.
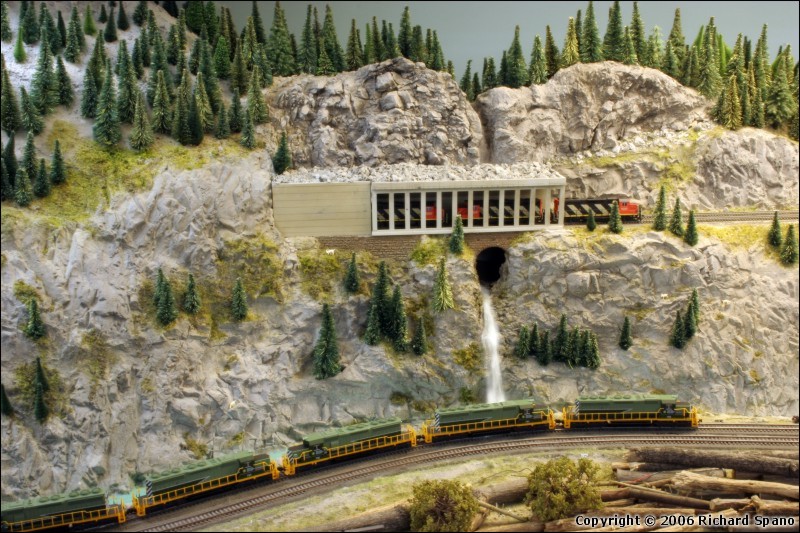
Image 2-6. A CN train emerges from the rock slide shed at Hell's Gate while a BC Rail freight winds along the Fraser River below.
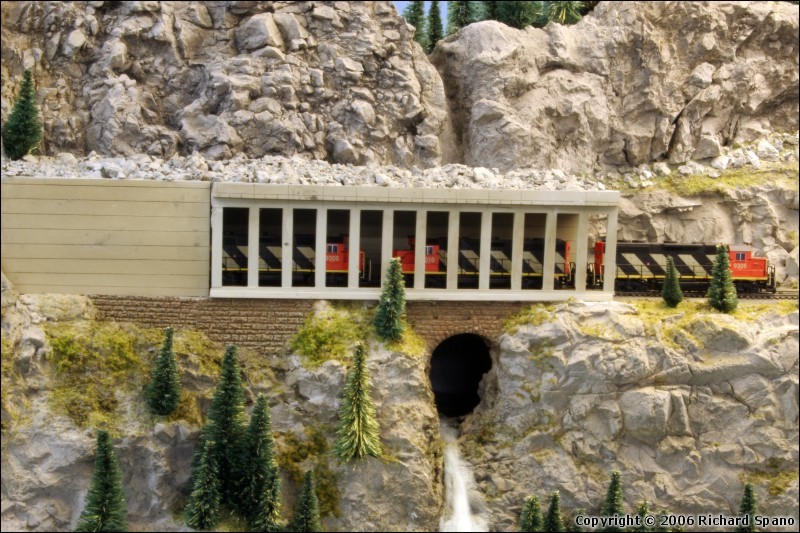
Image 2-7. Close-up of the rock slide shed at Hell's Gate.
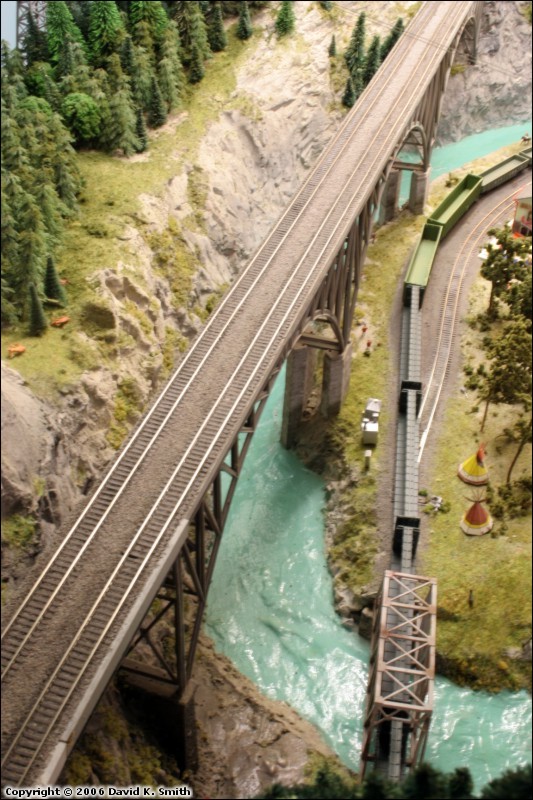
Image 2-8. A mountain-climber's view of the Triple Arch Bridge and the winding Fraser River from atop Moberly Mountain. Just out of view, to the right, is a skating rink. See the skaters in action.
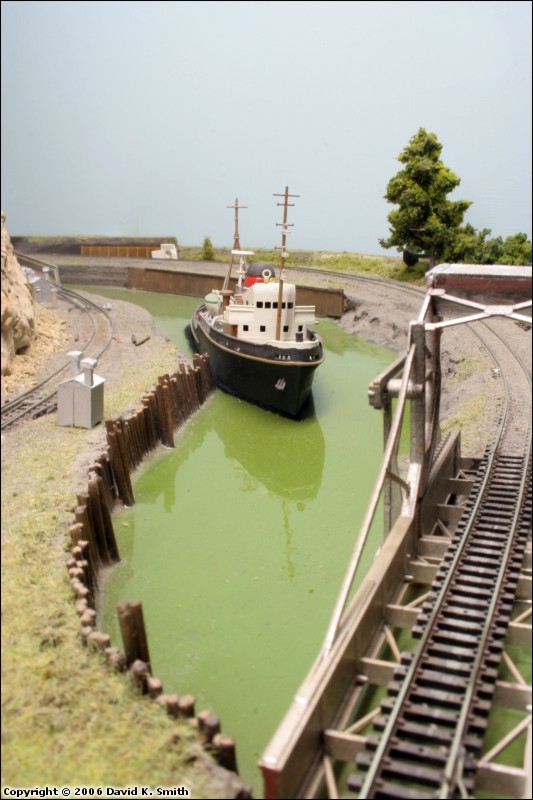
Image 2-9. A boat approaches a rolling lift bridge near Field on the Columbia River.
|
Copyright © 2007-2019 by Richard Spano. All Rights Reserved.
Nothing contained in this website may be reproduced in any form without the express written consent
of the copyright holder.